Whether you’re a seasoned angler or just starting out, knowing how to properly put a fishing line on your reel is crucial. A correctly spooled reel can mean the difference between a successful fishing trip and a frustrating day on the water.
This guide will provide you with a step-by-step process to ensure your fishing line is on your reel correctly, enhancing your fishing experience and increasing your chances of catching fish.
Key Takeaways
- The process requires specific materials including a fishing reel, new fishing line, scissors or line cutters, cloth or rag, and optionally, tape.
- Spinning reels require opening the bail, whereas baitcasting and trolling reels need the side plate removed to access the spool.
- The fishing line can be attached to the reel either by tying an arbor knot or using tape.
- Filling the reel spool to the appropriate level (about 1/8 inch from the rim) and checking for line twists after spooling are important steps to ensure the line performs well during fishing.
Materials Needed
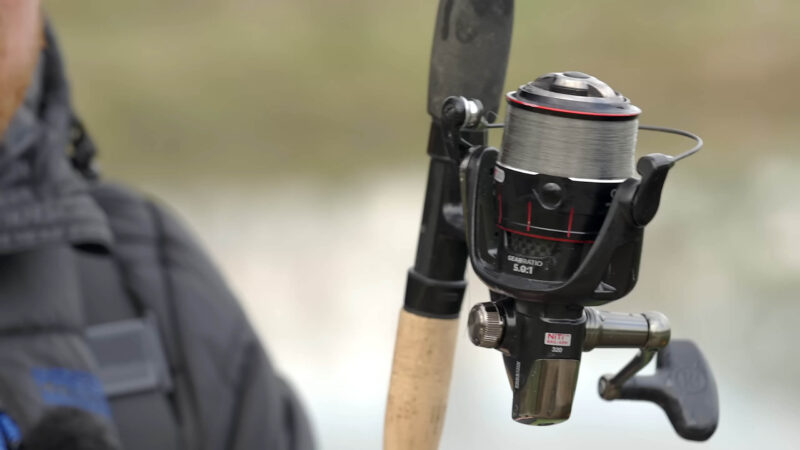
- Fishing Reel: Choose a reel that fits the type of fishing you plan to do. Whether it’s a spinning, baitcasting, or trolling reel, make sure it’s in good working condition.
- New Fishing Line: Select a line that matches your fishing environment and target species. Consider line weight, material (monofilament, braided, fluorocarbon), and length.
- Scissors or Line Cutters: These are essential for cutting the fishing line cleanly and precisely. A sharp tool makes it easier to work with the line and prevents fraying.
- Cloth or Rag: Use this to hold the line while reeling to apply tension. It protects your fingers from cuts and burns and ensures a tight wrap on the spool.
- Tape (Optional): Handy for those who prefer not to tie knots. Tape can secure the line to the reel spool, which is especially useful for beginners or quick changes.
What to Do?
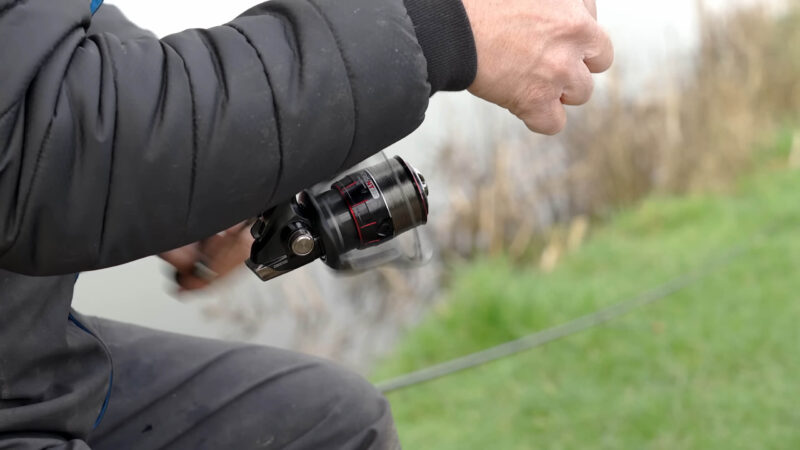
Step 1: Open Your Reel
| Reel Type | Steps |
| Spinning Reels | Open the bail by flipping up the metal arm. Ensure reel stability. Start spooling line to prevent accidents/tangles. |
| Baitcasting/Trolling | Remove the side plate to access the spool. Loosen the screw or press the release button. Be cautious of small parts. |
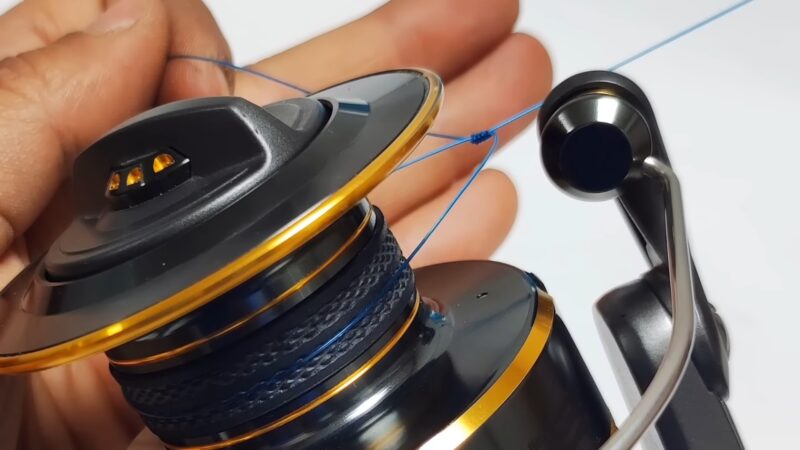
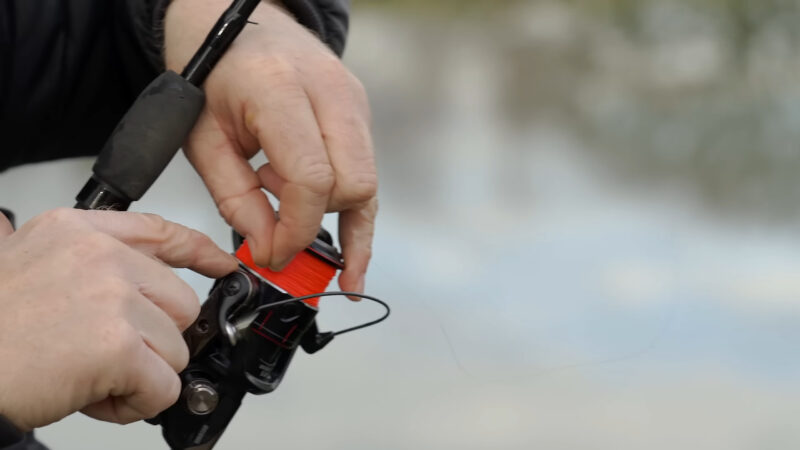
Step 2: Attach the Line to the Reel
Tie the line to the spool using an arbor knot. This knot is secure and simple, providing a strong connection to the spool. Make sure to wet the knot before tightening to reduce friction and ensure a snug fit. Alternatively, you can use a small piece of tape to secure the line to the reel.
This method is quick and easy, especially for those who find knot-tying challenging. Ensure the tape adheres well to both the line and the spool for a reliable hold.
Step 3: Load the Line onto the Reel
Ensure the line comes off the filler spool in the same way it will go onto the reel spool. This alignment reduces the risk of introducing twists and kinks into the line, which can compromise its strength and performance. Apply slight tension to the line with your fingers or through a cloth.
Consistent tension is key to loading the line evenly and preventing loops or tangles. Adjust your grip as needed to maintain control over the line tension.
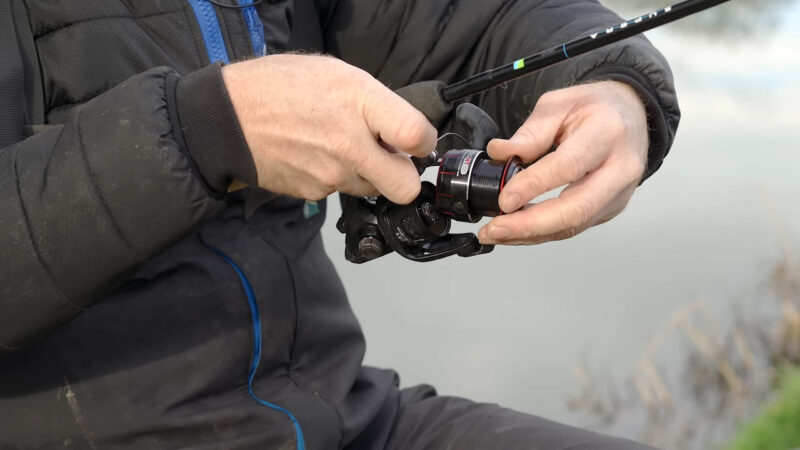
Step 4: Reel the Line
Begin reeling slowly, keeping consistent tension on the line. Pay attention to how the line is laying on the spool, aiming for an even distribution across its width. If you notice any irregularities, stop and adjust before continuing.
Fill the spool until it’s approximately 1/8 inch from the rim. Avoid overfilling as it can lead to line spillage and tangling. A properly filled spool ensures optimal casting distance and accuracy.
Step 5: Cut and Secure the Line
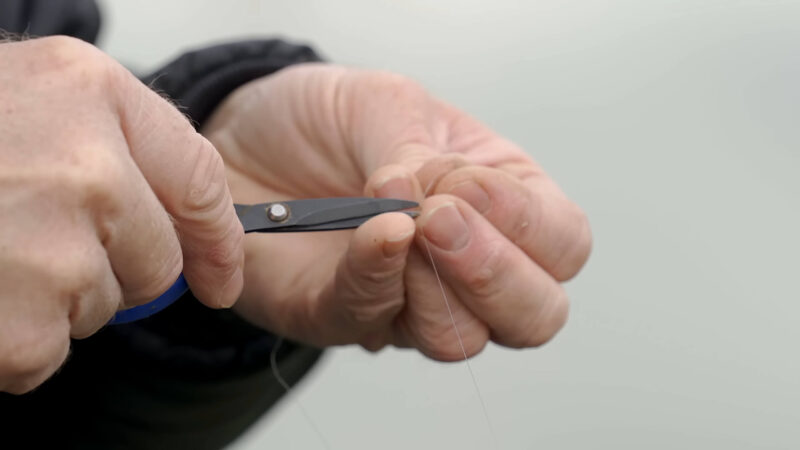
Once the spool is adequately filled, cut the line from the filler spool: Leave enough line to work with for rigging your rod, typically a few feet. Use your scissors or line cutters for a clean cut. If your reel has a line clip, you can secure the end of the line to it:
This prevents the line from unraveling and keeps your setup tidy. If there’s no clip, you can temporarily tie the line to a rod guide or handle.
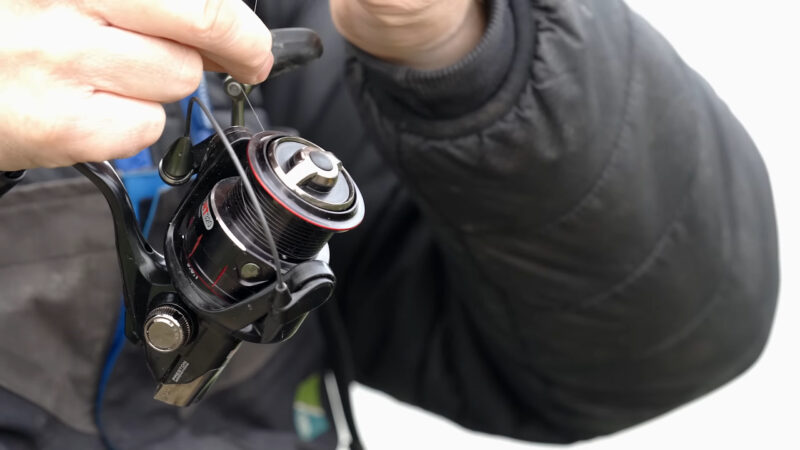
Step 6: Check for Twist
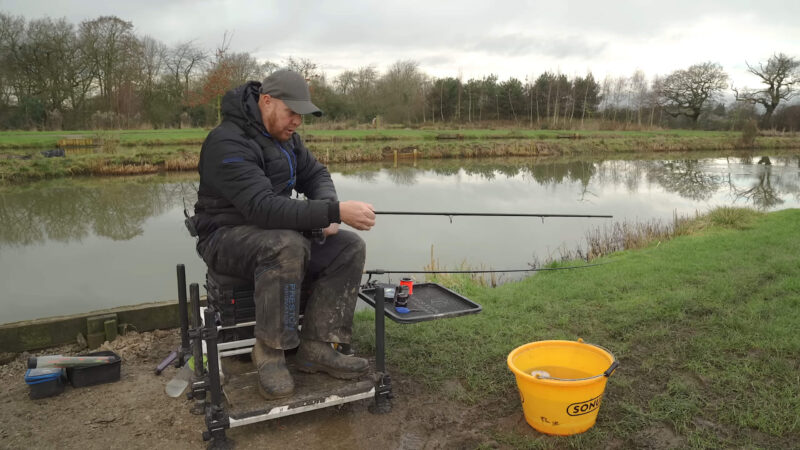
After spooling, it’s a good idea to check for any line twists: Excessive twisting can affect your casting and retrieving, leading to poor performance and frustrating fishing experiences. You can do this by threading the line through the rod guides, attaching a lure, and letting it hang: If the lure spins or the line coils, you have twists that need addressing.
This test helps you catch issues before they become problematic on the water. If the line twists excessively, you may need to remove some of it and re-spool: Sometimes, starting fresh is the best solution. Take this opportunity to practice and perfect your spooling technique for better results in the future.
Once you’ve mastered attaching your line to the reel, enhancing your setup with the right lure becomes the next step, ensuring you’re fully prepared to attract your target fish.
FAQs
Can I use the same method for spooling different types of lines, like braided or fluorocarbon?
Yes, the basic method for spooling is similar across different types of lines, including braided, monofilament, and fluorocarbon. However, a braided line may require a monofilament backing on the spool to prevent slipping due to its slick nature.
How often should I replace the line on my reel?
It’s recommended to replace the fishing line at least once a year if you fish regularly. However, the frequency can increase based on the line’s exposure to elements, usage, and any visible signs of wear or damage.
Is it necessary to use a cloth or rag when spooling the line?
Using a cloth or rag when spooling the line helps apply even tension and prevents the line from cutting into your fingers, especially with thinner or stronger lines. It’s a useful practice for smooth and tight spooling.
What should I do if my reel doesn’t have a line clip?
You can tie the line around one of the rod guides or secure it with a piece of tape to the reel body. This prevents the line from unraveling when not in use.
How can I tell if I’ve overfilled the reel spool?
Overfilling is indicated by the line frequently jumping off the spool’s edge or difficulty in closing the bail on spinning reels. It can lead to tangles and casting issues. Aim to fill to just below the spool’s lip for optimal performance.
What’s the best way to dispose of old fishing lines?
Properly disposing of old fishing lines involves cutting them into small pieces and placing them in a trash receptacle. Some areas offer fishing line recycling programs to prevent environmental harm, as discarded lines can pose risks to wildlife.
The Bottom Line
Mastering the art of putting a fishing line on a reel is a skill that will serve you well throughout your fishing endeavors. With practice, this process will become second nature, allowing you to prepare your gear quickly and efficiently. Always keep in mind that a well-spooled reel is the foundation of a successful fishing trip, so take the time to do it right.
Now that you know how to properly put a fishing line on a reel, you’re one step closer to catching the big one. Good luck!